Hello and Greetings 👋 Everyone!
I know it's been quite a gap since my last article and I sincerely apologize for the gap. But I am back with a bang 😉
We all have been to a situation where we want create something to make our lives easier in daily routine. RIGHT? If you have ever wanted to build a smart system, that automatically tags images the moment they're uploaded (Like Google Photos or Amazon Photos)? Wanted to create an Application to upload vacay pictures and instantly tells you what you are looking at? Trees, Mountains, People, Emotions? That too without writing any Machine Learning Model yourself?

In this article, we are going to build a fully serverless pipeline that'll:
- Let the users upload an image to an S3 Bucket
- It will trigger a Lambda Function automatically
- Will use Amazon Rekognition to detect objects/scenes
- Store the generated labels or tags into DynamoDB or, if you want, write them to an S3 JSON file
- Send a notification via SNS or Email
I know it's quite a mouthful and therefore we will be doing a series of articles on this process. We'll need:
| Tool | Usage |
|---|---|
| Amazon S3 | Store Images |
| Amazon Rekognition | Object and Scene Detection |
| AWS Lambda | Adding everything together |
| DynamoDB or S3 JSON | Store the Results |
Let's Go...! 🚀
Step 1: Create an S3 Bucket and Enable Event Notifications
In this step, all you need to do is take your laptop or start your workstation, login to your OS, open your browser and go to our favorite portal, i.e. AWS Portal. Sign-in and begin by creating an S3 Bucket. We will use this bucket so that the users can upload their images. This bucket will trigger a lambda function everytime a new image upload is detected.
Create S3 Bucket
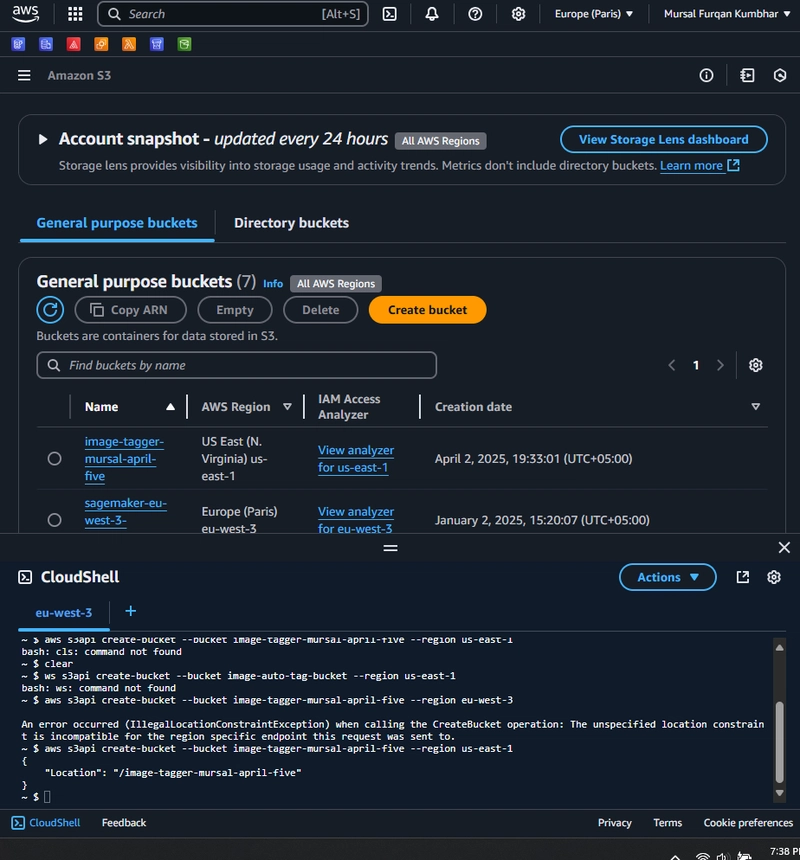
Simply open your AWS Console/CLI, and wait until the environment is ready to listen to you.
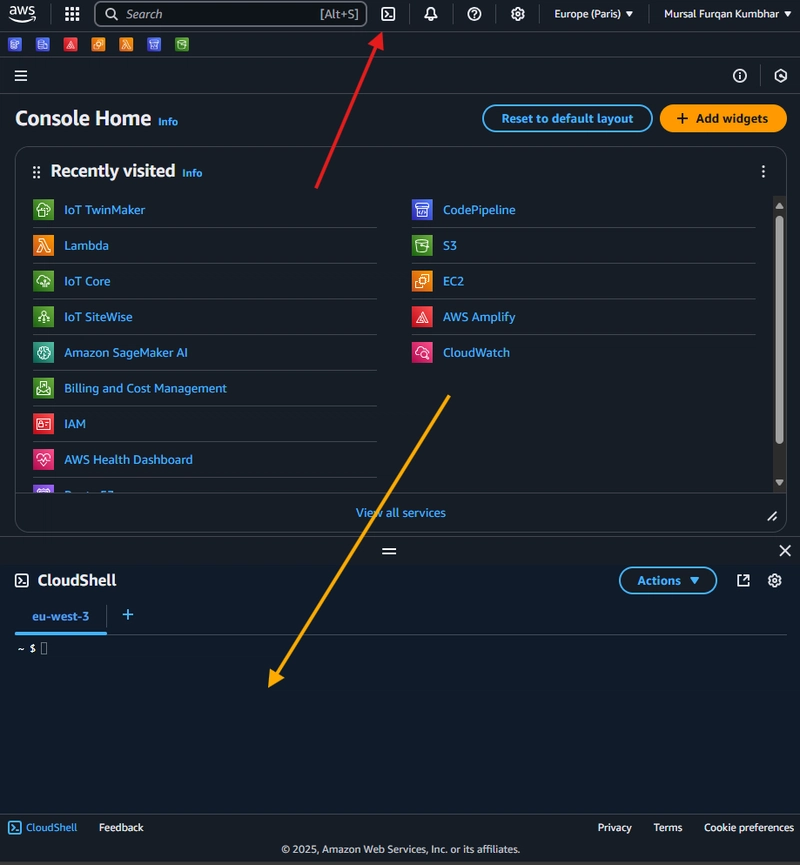
Then simply write this
aws s3api create-bucket --bucket unique-bucket-name --region eu-west-3
Remember to use a unique bucket name at 'unique-bucket-name' & use your preferred region.
Create RekognitionLambdaRole
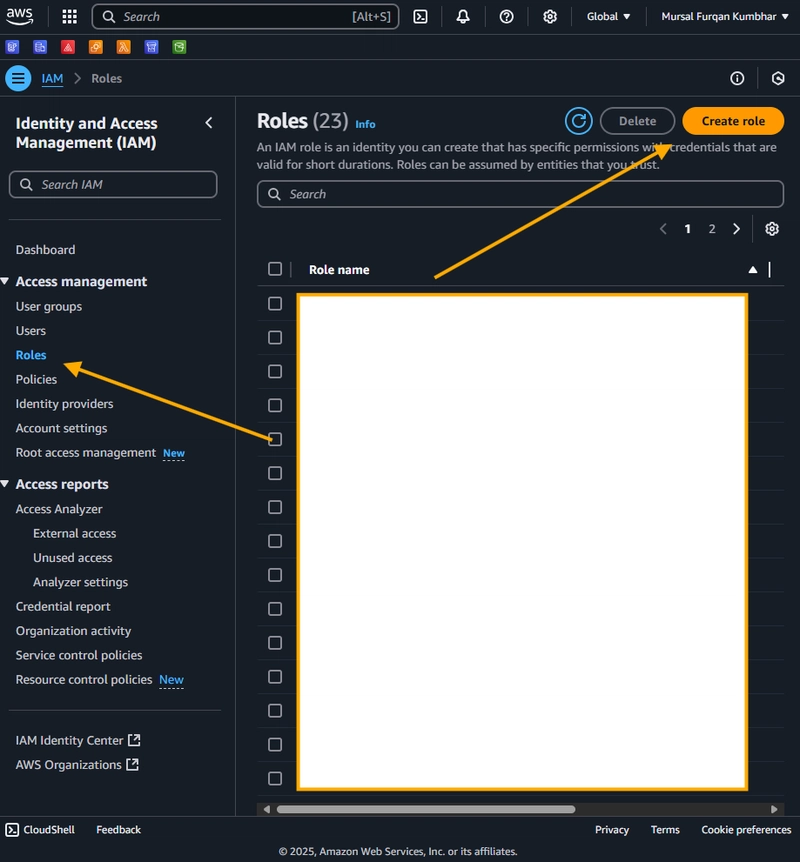
Having created our S3 bucket, we need to create the IAM Role before moving forward. Simply follow these steps to do so:
- Go to IAM > Roles > Create Role
-
Trusted Entity:
- Choose AWS Service
- Use Case: Lambda
- Click Next
-
In the next screen, attach the following policies and click Next:
AmazonRekognitionFullAccessAmazonS3ReadOnlyAccessCloudWatchLogsFullAccess
-
In the next screen, name your role:
- Role Name:
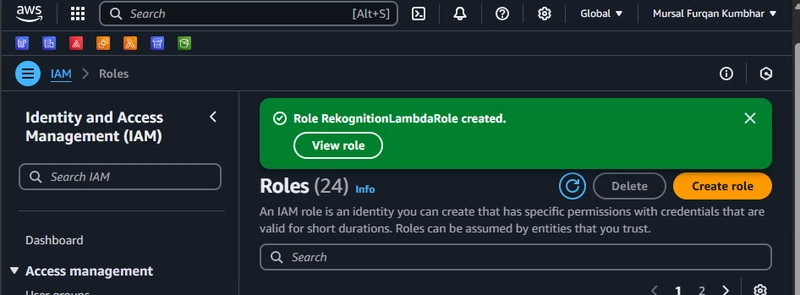
RekognitionLambdaRole - Click Create Role
- Role Name:
Our new Role is ready!
Create Lambda Function
Before moving forward, we need to create our Lambda Function, attach the correct IAM role, write it's python code and deploy it.
Go to AWS Lambda Console, and click create function.
Fill in the following details:
- Author From Scratch
- Function Name: AutoTagImageFunction
- Runtime:
Python 3.12or if a newer version available - Permissions:
- Select "Use an Existing Role"
- Choose the role we created earlier, i.e.
RekognitionLambdaRole
Click Create Function to complete the function creation process.
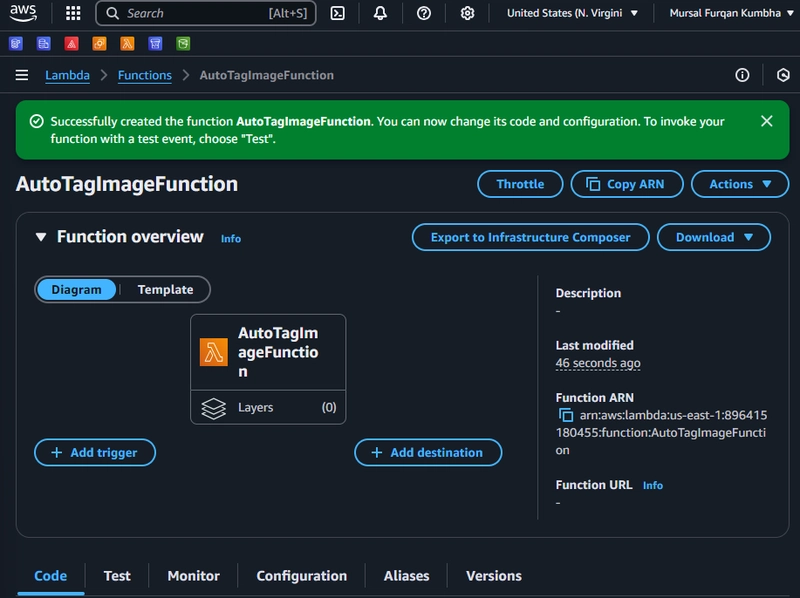
Congratulations 🎉 Our Lambda Function is done. But wait. We are not done with the Lambda Function yet.
In the next screen, replace the default code with the following python code in the code editor:
import json
import boto3
import urllib.parse

rekognition = boto3.client('rekognition')

def lambda_handler(event, context):
    print("Received event:", json.dumps(event, indent=2))

    # Get the bucket and object key
    bucket = event['Records'][0]['s3']['bucket']['name']
    key = urllib.parse.unquote_plus(event['Records'][0]['s3']['object']['key'])

    try:
        # Call Rekognition
        response = rekognition.detect_labels(
            Image={
                'S3Object': {
                    'Bucket': bucket,
                    'Name': key
                }
            },
            MaxLabels=10,
            MinConfidence=80
        )

        print(f"Labels detected for {key}:")
        for label in response['Labels']:
            print(f" - {label['Name']} ({label['Confidence']:.2f}%)")

        return {
            'statusCode': 200,
            'body': json.dumps('Labels detected and logged!')
        }

    except Exception as e:
        print(f"Error processing {key}: {str(e)}")
        raise e
The next step is to Deploy and Test.
Simply click Deploy to save the function. We will test this function later.
Enable Event Notifications for Uploads
Now we have our S3 bucket created. Let's go for the next step, i.e. triggering the Lambda Function on S3 Uploads whenever a new .jpeg image is uploaded to your bucket. Remember: We want it to automatically trigger a lambda function. Here, we need two things:
- Lambda Function ARN (Will get this after this step is done)
- Permission for S3 to trigger our Lambda Function
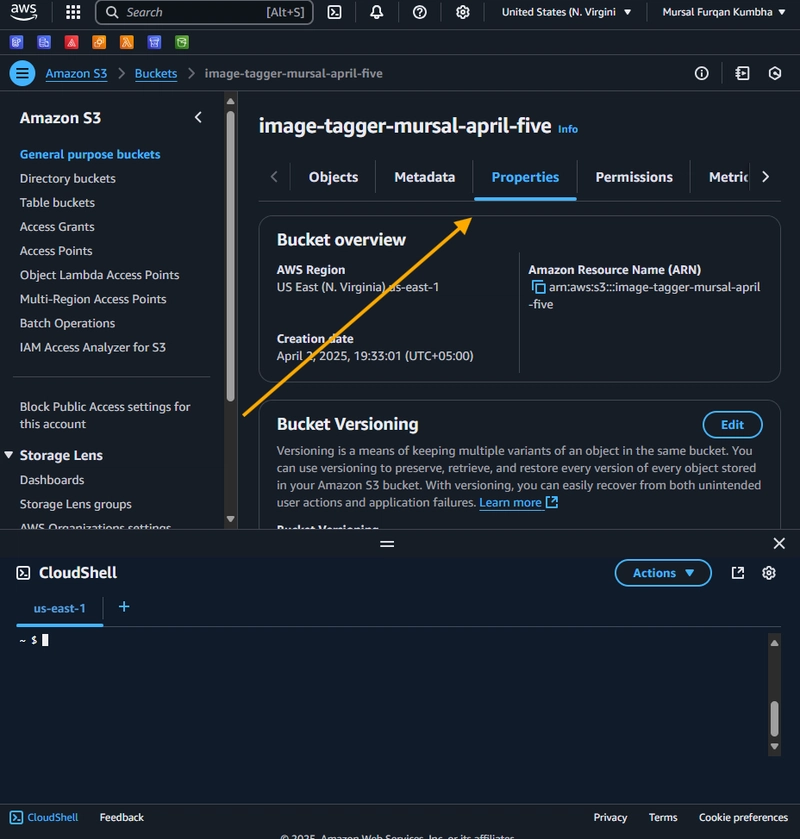
First go to the s3 bucket that we just created.
And navigate to the properties tab.
Scroll to 'Event Notifications' and Click 'Create Event Notification'
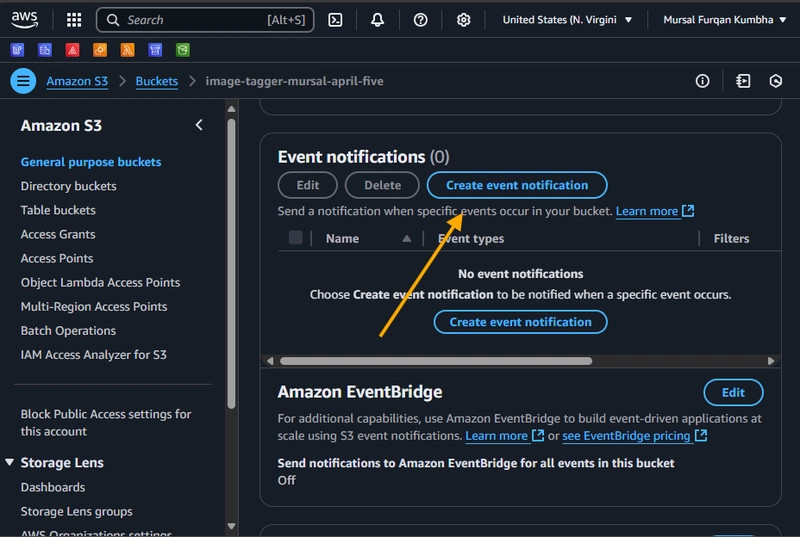
Fill in the following Details:
- Name:
onImageUpload - Suffix Filter: Add
.jpg,.jpeg,.png(You can leave it all to allow all images) - Event Type:
PUT - Destination: Select Lambda Function
- Choose your lambda function that we created earlier.
Having done all that, save the changes by clicking Save Changes. Once that is done, we need to add permissions as well [REEEAALLLYY IMPORTANT ⚠️]
Aft the lambda function is created, run the following command in the CLI to allow S3 to invoke it.
aws lambda add-permission \
  --function-name AutoTagImageFunction \
  --principal s3.amazonaws.com \
  --statement-id S3InvokePermission \
  --action "lambda:InvokeFunction" \
  --source-arn arn:aws:s3:::image-tagger-mursal-april-five
Make sure you replace
AutoTagImageFunctionwith your actual Lambda function name (if it's different 😉)
Don't forget to replaceimage-tagger-mursal-april-fivewith your actual S3 bucket name.

Tired Already?
Well, that's it for Part 1 of our Smart Serverless Image Tagging on AWS series. In this article, we have set-up the basic pipeline, i.e. S3, Lambda, Rekognition, and enabled them to auto-detect labels from the uploaded images. In the next article, we are going to cover:
- Uploading test images to S3
- Viewing Label results in CloudWatch
- Saving tags to a JSON file in S3
- Sending Notifications via SNS
I guess we are going great. Let me know in the comments section if you guys want more of the AWS Stuff 😜


Top comments (0)