Originally published at Medium on Jun 25, 2018
Being used to web development, where I usually try to follow a more functional approach, I find game development hard and weird. Last year I played a bit with Phaser 2, following a tutorial and also for a Ludum Dare entry. I found the experience okay-ish. It was difficult for me to think in object-oriented terms. I also saw certain things that are usually considered bad patterns (like global variables or functions with a lot of parameters) that definitely didn’t help to make the developer experience enjoyable. And passing this to your callbacks! Party like it’s 2014.
So I was pretty excited when I read about Phaser 3, and, after trying it this last few days, well… it’s definitely better that Phaser 2 but I still can’t get used to that programming paradigm. Also, being relatively new, there is a considerable lack of documentation and tutorials.
To start with something, I decided to try and set some basic movement control. In the other couple of games I did with Phaser, like in virtually every example you find online, you control your character with the arrow keys. It’s super easy to code and works great, and you can even have acceleration and stuff like that with the arcade physics engine. But that presents a problem if you want to play on a touch device, and I want my game to be playable on a tablet without doing a big port or ugly things like adding an on-screen gamepad. So I decided to try a good old point and click (or tap) control system. Should be as easy, right? WRONG.
The way movement works when controlling the character with arrow keys is that you actually just set a velocity while the key is pressed, and reset it back to 0 when the key is released. You don’t care about the destination. Something like this:
if (leftKey) {
  this.body.setAccelerationX(-200)
} else if (rightKey) {
  this.body.setAccelerationX(200)
} else {
  this.body.setAccelerationX(0)
}
So… What I want to happen is that the character moves in a constant velocity until it reaches the position I clicked (or until it finds an obstacle in the way, but more on collisions later). It’s tempting to just move the character n pixels per frame, but we don’t actually know at which framerate the game is executing. After some more digging around I stumbled upon the moveTo method, which seemed to be exactly what I was looking for.
this.input.on('pointerdown', pointer => {
  this.physics.moveTo(this.survivor, pointer.downX, pointer.downY, speed)
})
But then…

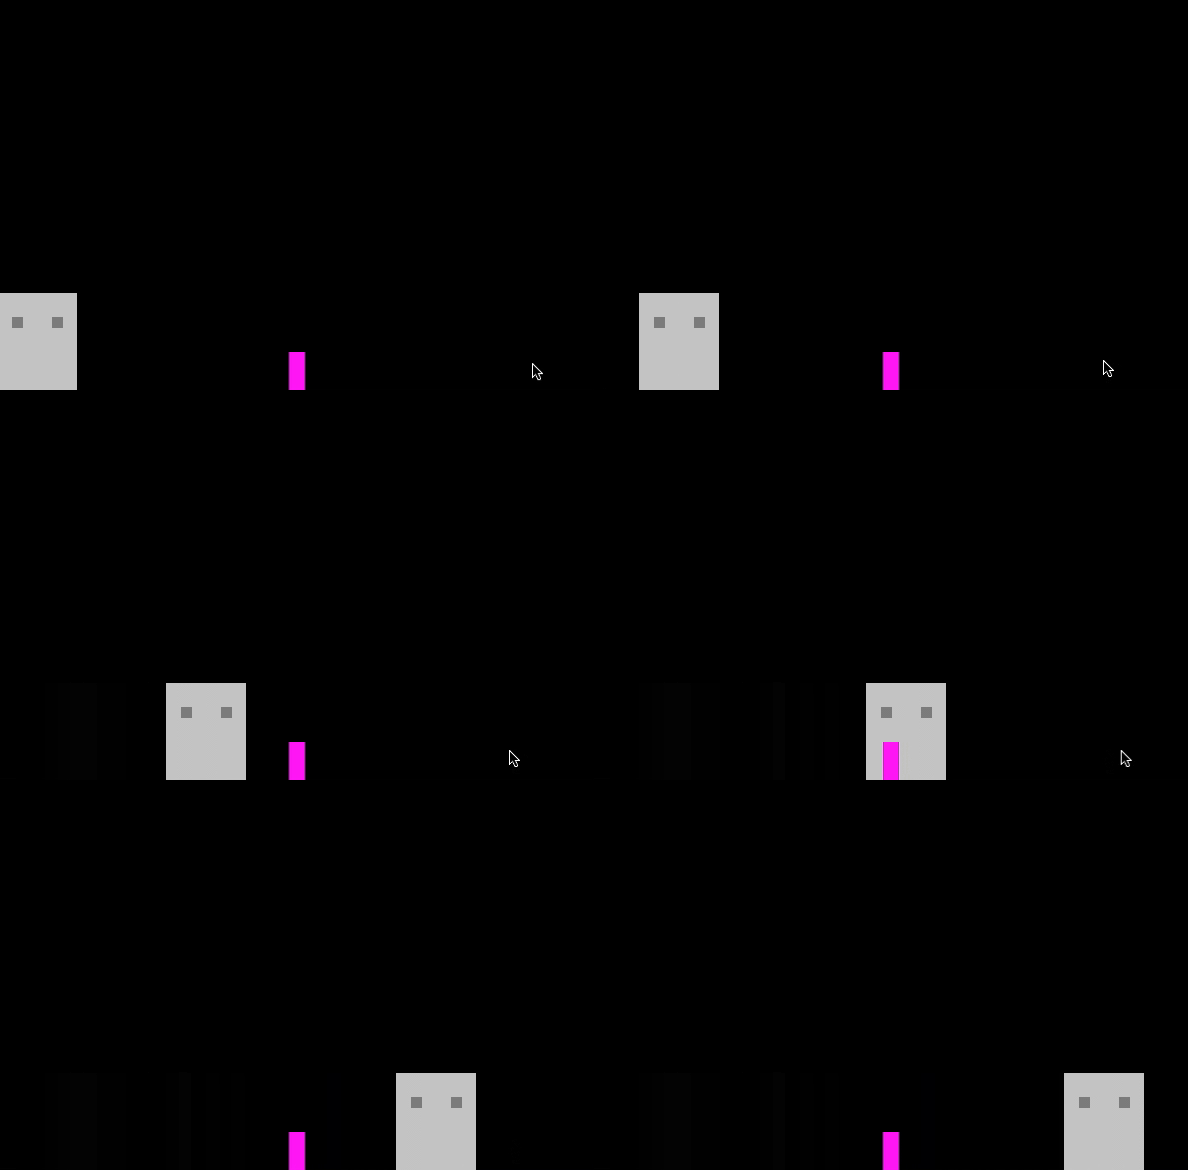
It works! Hey. Wait. Where are you going? Stop. STAHP
So, yeah, as the documentation clearly says, the display object doesn’t stop moving once it reaches the destination coordinates. So now I need to figure out how to stop the character. Since moveTo sets a velocity to the character, all I need to do is reset it to 0 once it reaches the target. So I store temporarily the destination and keep checking if the character has reached it on the update loop.
// scene.js
this.input.on('pointerdown', pointer => {
  this.survivor.setDestination(pointer.downX)
  this.physics.moveTo(this.survivor, pointer.downX, pointer.downY, speed)
})

// survivor.js
setDestination(target) {
  this.target = target
}

update () {
  if (this.target) {
    const movingLeft = this.body.velocity.x < 0
    const movingRight = this.body.velocity.x > 0
    if (movingRight && this.body.x >= this.target ||
        movingLeft && this.body.x <= this.target ) {
      this.stop()
    }
  }
}

stop () {
  this.body.velocity.x = 0
  this.target = null
}
So, yes, it works but… is it the best way to do it? I also read about tweens, so let’s see if that’s a better alternative. If you are not familiar with the concept, tweening (short for in-betweening) is the process of generating intermediate frames between two images or states. So if I want to move the character from its current position to the point where I clicked, I just need to add a tween, and calculate the duration of the tween based on the distance that needs to be covered (since I don’t want the animation to take the same time if the character walks 50 pixels or 500). Pretty straightforward:
this.input.on('pointerdown', pointer => {
  const distance = Math.abs(this.survivor.body.x - pointer.downX)
  const walkingVelocity = 150
  const duration = (distance / walkingVelocity) * 100

  this.tweens.add({
    targets: this.survivor,
    x: pointer.downX,
    duration
  })
})
So, it seems that tweening is way simpler. There’s just one problem: tweens are not a part of the physics engine. That means that the character will not be able to collide with obstacles, and what fun is a post-apocalyptic world without obstacles. So I’m going to create a very scary obstacle and see what happens. I just add another sprite object and set it to collide with the survivor:
But, if I go back to the first movement logic…
Yay! Physics!
Even if there was a way to make objects collide with tweens, I think it makes more sense to stick with the physics engine for all things movement related, and leave the tweens for more presentational stuff, like opacity, colors, etc.
I’ve spent a few frustrating hours trying to move squares around, but I’m quite happy with the process. I am now a bit more familiar with Phaser 3, and I have a basic movement system that, even though it will probably change in the future, it’s enough to get me started.


Top comments (0)