Welcome to part-8 of the series. In this part we will make some more firefox extensions. We will create some tab addons. These addons shows some predefined pages when the user opens a new tab.
The first extension will be called Blurred Tab. So, go ahead and create a folder BlurredTab and inside it another folder icons. Inside that folder place two icons. You can get them from the github link at the end of this post.
Now, create a file manifest.json inside the folder BlurredTab and put the below content in it.
Notice, the new parameter chrome_url_overides. It contains newtab, which will override the content of the new tab and replace with a file tabs.html.
You can read more about it this mdn doc here.
Next, let’s create the file tabs.html. It is a simple html file and contains a random image generated from unsplash and also a range input.
Next, let’s give some styles to this html. Create a file tabs.css in the same folder and put the below content in it. As, you can see we are making the image blur by default.
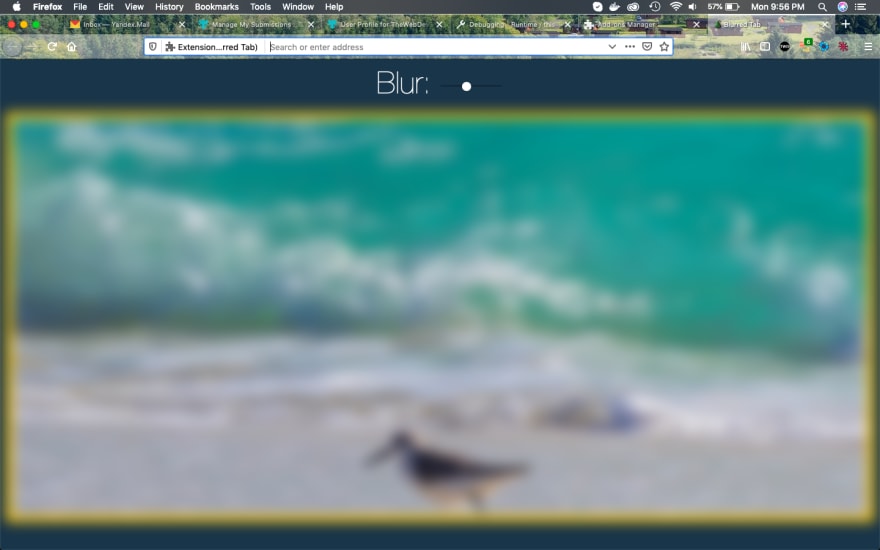
Now, if we load the extension in firefox and then open a new tab, we can see the below.
You can learn how to open an extension for testing in my previous post here.
Next, we will add the javascript file to control the input type range. Create a new file tabs.js in the same directory.
Now, here we are first selection the input which is inside the controls div. Now, we add the event listener to fire when we move the range input. It runs the function handleUpate().
Inside the function handleUpdate( ) we are using the data-sizing , name and the value property, from our html input tag.
The this.dataset.sizing is equal to px and this.name is equal to blur. The this.value is initially 10 and gets changed, to the value from the slider.
<input id="blur" type="range" name="blur" min="0" max="25" value="10" data-sizing="px">
Now, we are using setProperty to change — ${this.name} ,which is the variable — blur from the css file. We are changing it to a value an px like 5px.
Now, reload the extension to test the changes and again open, a new tab. This time move the slider to the left to reveal the image. If you move the slider to the right, it will blur the image more.
It is working perfectly, so it’s time to publish it in the mozilla addon store. I will follow the procedure from another of my blog in the series. The link is here.
I had submitted the addon and it is Awaiting Review from mozilla reviewers.
This complete part-8 of the series.
You can find the code for the same in my github account here.


Top comments (0)